

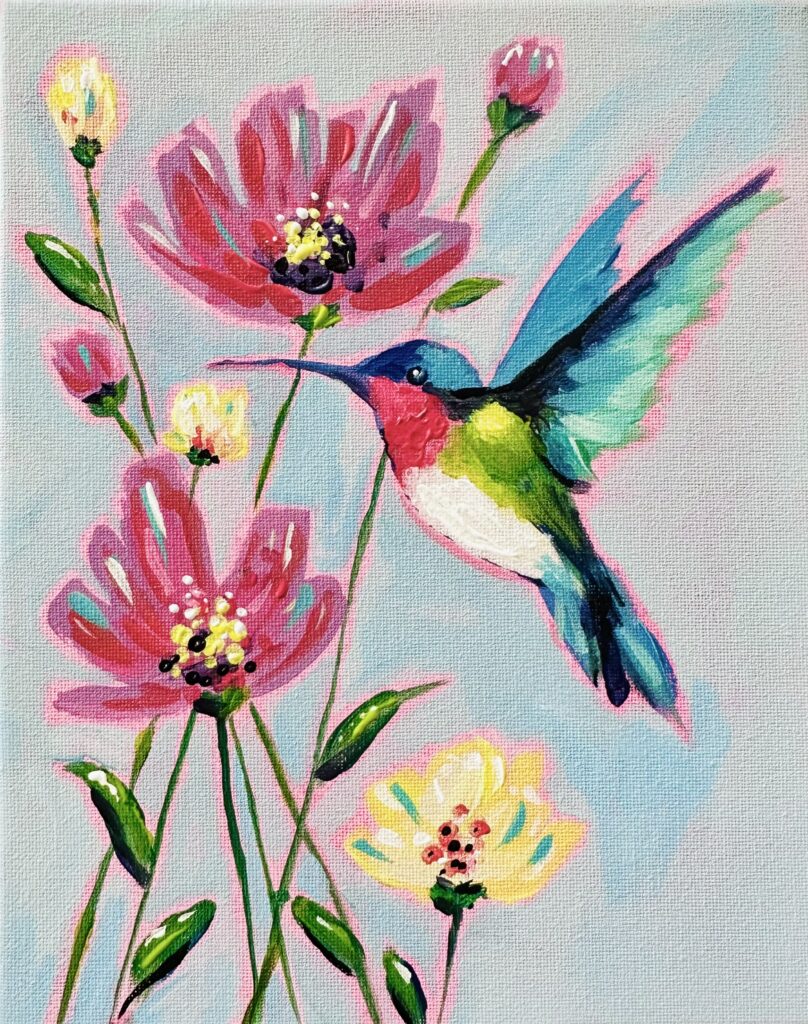
Ever wonder how some paintings seem to “vibe” or glow right off the canvas? Today, I’m showing you one of my favorite professional secrets: the vibrant underpainting technique. By starting with a bright base and layering strategically, we create a shimmering “halo” effect that makes this hummingbird look truly iridescent.
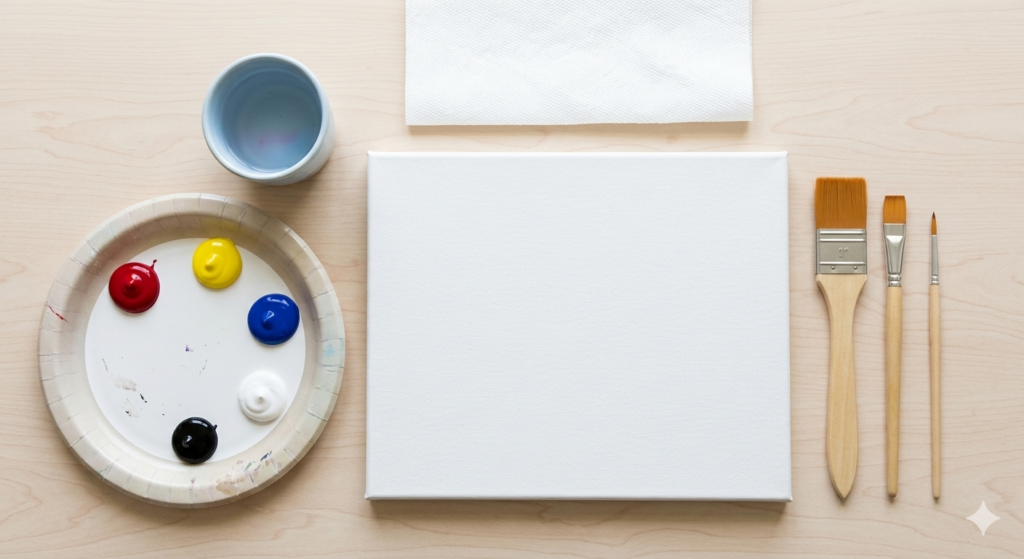
We’re sticking to our trusty 8×10 canvas and our signature primary palette (Red, Yellow, Blue, Black, and White). Let’s dive in! Grab the FREE traceable image here
Step 1: The Pink “Glow” Underpainting 💖
Grab your 1″ Flat brush. We’re starting with a transparent wash of Red + a lot of water (or a touch of White) to create a vibrant pink. Cover your entire canvas! This layer acts as your secret light source—it’s the “magic” that will peek through the edges of your final subjects.
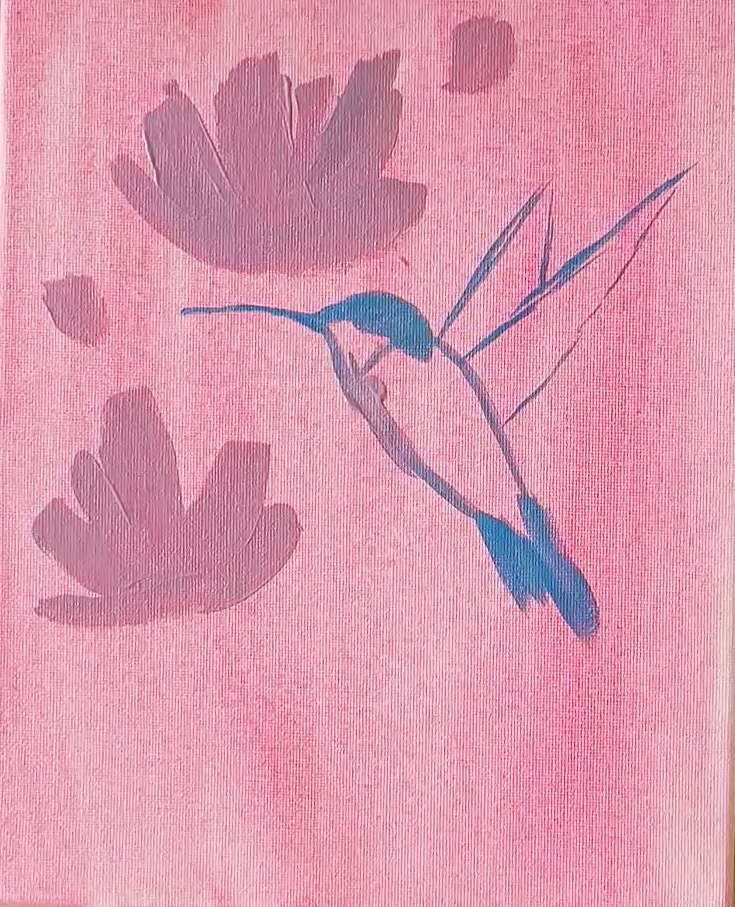
Step 2: Blocking the Hummingbird & Blooms 🐦
Switch to your 1/2″ Flat brush.
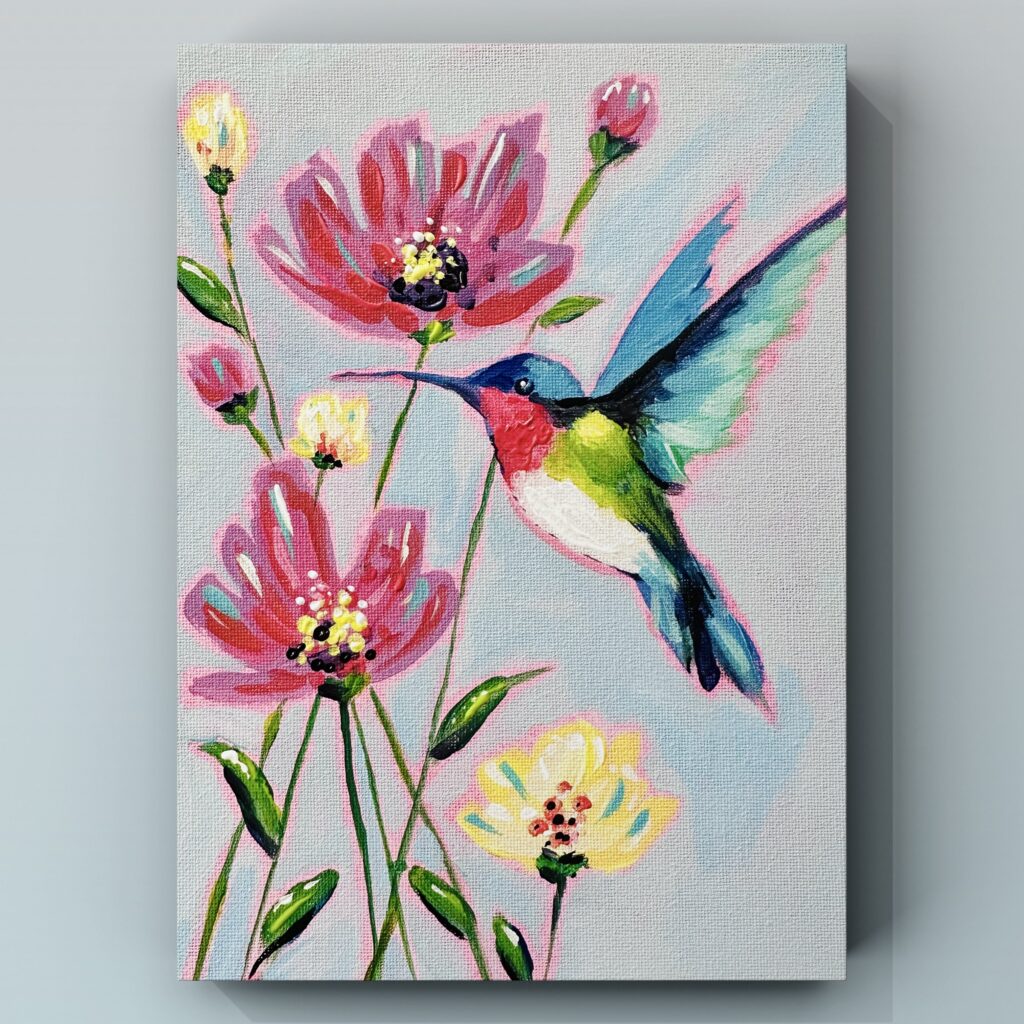
- The Hummingbird: Use Blue + Yellow + White for those bright lime and teal feathers. Add a pop of Magenta (Red + White) to the throat.
- The Flowers: Stamp in loose, abstract petal shapes using varying shades of pink, purple, and yellow.
- The Stems: Use a dark green (Blue + Yellow + tiny touch of Black) to pull thin, energetic lines for the stems and leaves.
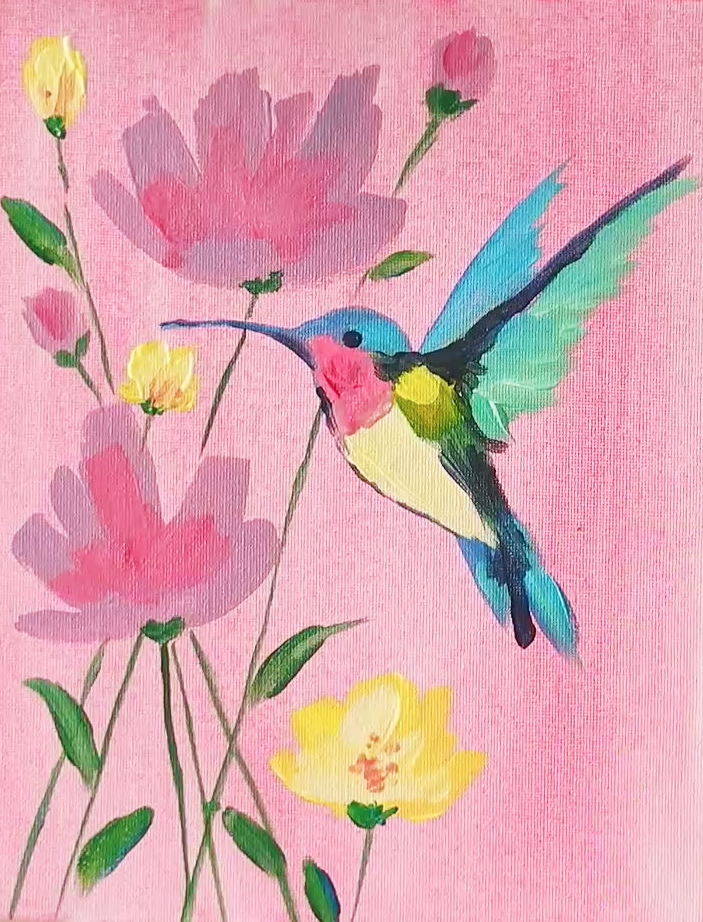
Step 3: The “Halo” Background Layer ✨
This is the most important part! Using your 1/2″ Flat brush, mix a light, airy blue or grey. As you fill in the background around your bird and flowers, leave a tiny gap (about 1/8th of an inch) around your subjects. This allows that bright pink underpainting to shine through, creating a decorative, shimmering outline that makes the bird look like it’s in motion.
Step 4: Details & High-Contrast Highlights ✍️
Grab your Small Round brush for the finishing touches:
- The Eye & Beak: Use a sharp Black to define the eye and the long, slender beak.
- Petal Texture: Add darker centers to your flowers and quick white “flicks” for highlights.
- Final Pop: Use Titanium White to add tiny dots of light to the hummingbird’s head and the centers of the flowers to make the whole piece sparkle.
Ready to start your masterpiece?
Don’t let the bird’s anatomy keep you from the canvas! I’ve created a FREE Traceable Sketch for this exact 8×10 layout so you can get the proportions perfect and jump straight into the fun part—the color!


+ show Comments
- Hide Comments
add a comment