

Burning candles is an ancient ritual. I love to set out my candles and light them to settle into a relaxing atmosphere. I’m even more thrilled when I know exactly what went into the candles because I made them myself!
Here I will link to resources and walk you through how to start making your own candles at home. Also, some ideas about using things around the house.
Here is the list to get started:
- Melter(comes with thermometer) on Etsy (optional) Only if you plan to make lots of candles at a time for selling or hosting candle making events like me!
- Pitcher for Wax
- Fragrance or Essential Oils (the essential oils will not burn with a strong scent, optional)
- 100% Soy Wax Flakes
- Pliers (to pinch wick clip)
- Jelly Jars, Mason Jars, Old Cans (make sure they have a cover or lid if you plan to sell them)
- Dye (optional)
- Wick Raw Cotton
- Scissors ( dollar store)
- Wood/Metal Wick Bar
- Glue Dots
- Wick Clips
- Warning labels (if you plan to sell them)
GENERAL WAX (local to SoCal)
https://www.candlemakingsupplies.net/
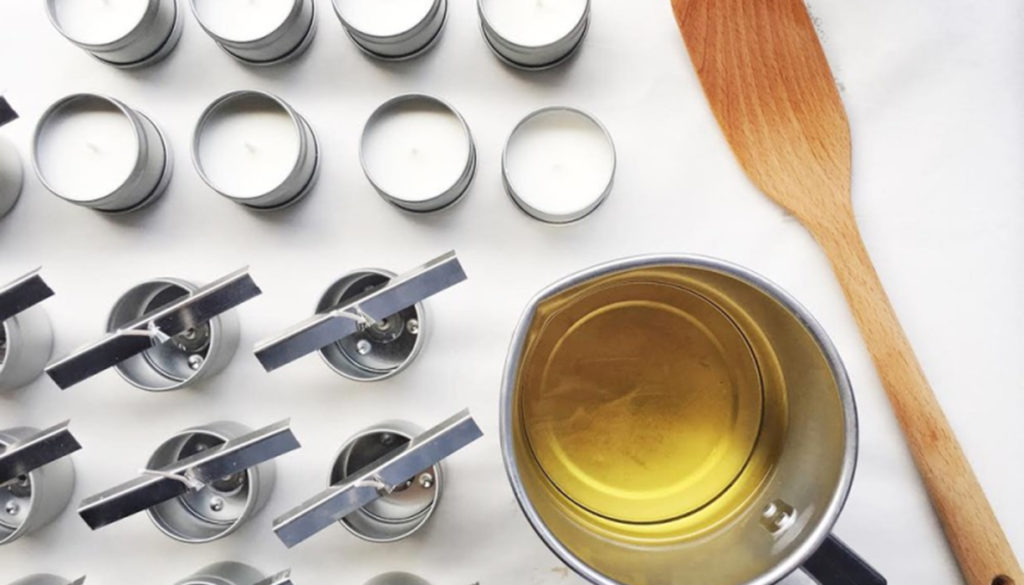
- Place wax in your melter, either a melter or a pitcher in a double boiler (use a pot with about 1-2 inches of water place the pitcher full of wax in the pot and turn on the heat to medium high). Or turn on the melter to high heat.
- While the wax heats prep the jars. Cut the wick to about 2″ taller than the rim of the jar.
- Pull the wick through the flat side of the wick clip and all the way to the end of the wick.
- Pinch the wick clip tip with the pliers firmly. Tug to check.
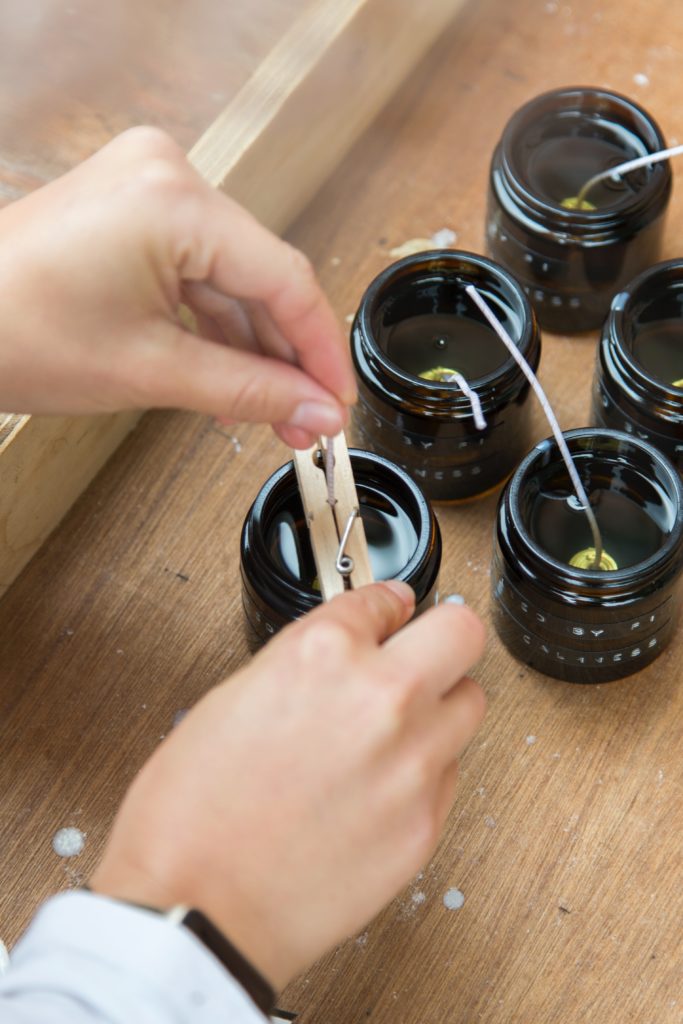
- Stick the glue dot to the bottom of the wick clip.
- Then stick the wick clip to the center bottom of the jar.
- Place the wick bar on the top center of the jar and pull the wick through the hole to keep it center during dry time.
- Let the wax reach 180 degrees.
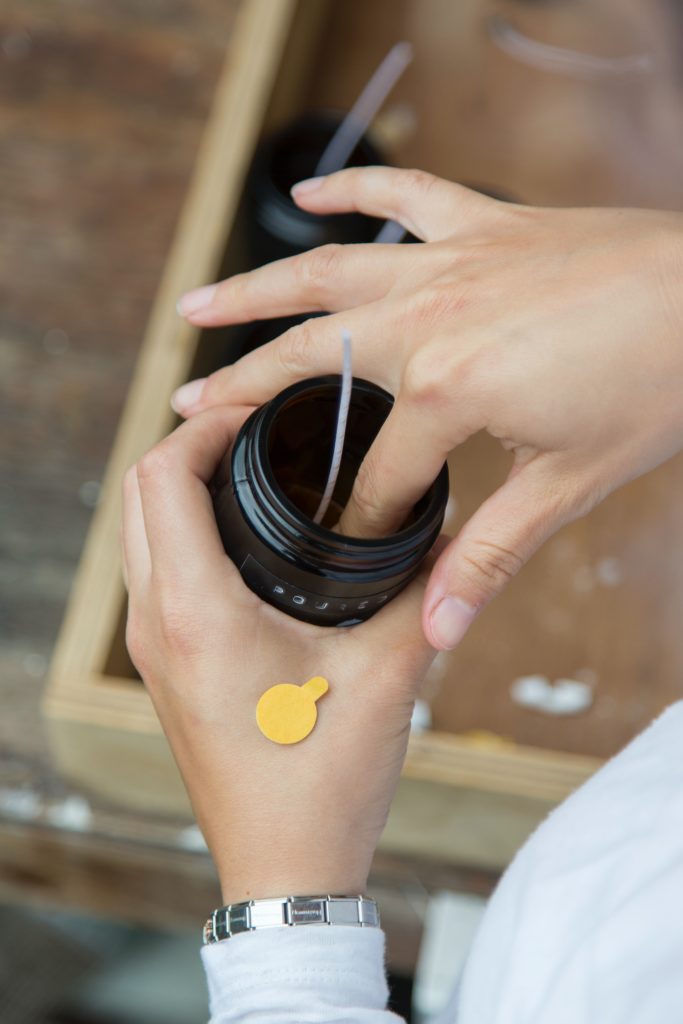
- Add your wax to the pitcher if using a melter and add scent (1oz of fragrance per 16oz of wax) and stir in slowly for 2min. Also add your coloring, the more you add the darker it will be. I usually add 1-3 drops.
- Slowly pour the wax into the jars leaving about 1″ of space from the top of the jar to avoid spilling.
- Let the candles set for a few hours.
- Trim the wick to 1/2 inch and check them for “sink holes”
- Make sure you poke the top of your candle to check for any holes or dents in the candle. They will not burn well if you leave those unchecked.
If you find a dent use a heat gun or blow dryer to reheat the surface of the candle so that wax can melt back into the hole and make the candle solid. I usually poke the top with a kabob stick to make sure there are no hidden holes in the wax.
Now that you have all the materials and steps I hope you try candle making! Look out on the video section of my site for more candle making tips and tricks. It’s a wonderful craft to learn. I love knowing that my candles have clean ingredients, no chemicals or filers that typically come in store bought candles, and I usually use old sauce jars to pour them in so it’s better for the earth.
Happy making my friend!


+ show Comments
- Hide Comments
add a comment