

A generic card? No, thank you. This year, give Mom a hand-painted masterpiece. 🌸☕
Today, we are mastering an expressive, “coquette cottagecore” style with this charming Floral Tea Cup tutorial.
This 8×10 lesson is designed to be a total Creative Win because we are focusing on Limited Supplies and Expressive Brushwork. No perfectionism allowed!
The Limited Supply List
- Canvas: 8×10
- Paint: Red, Yellow, Blue, Black, White.
- Brushes: 1″ Flat, 1/2″ Flat, Small Round.
- Extras: Download the FREE Traceable Sketch here!
The Step-by-Step
Step 1: The Soft Background Use your 1″ Flat brush to mix a large pool of Titanium White with a tiny dot of Red and a speck of Yellow. We want a soft, luminous yellow. Don’t smooth the strokes too much—embrace that impressionist look! You Will mix a bit of purple (red+blue) to loosely outline the cup and plate shapes).
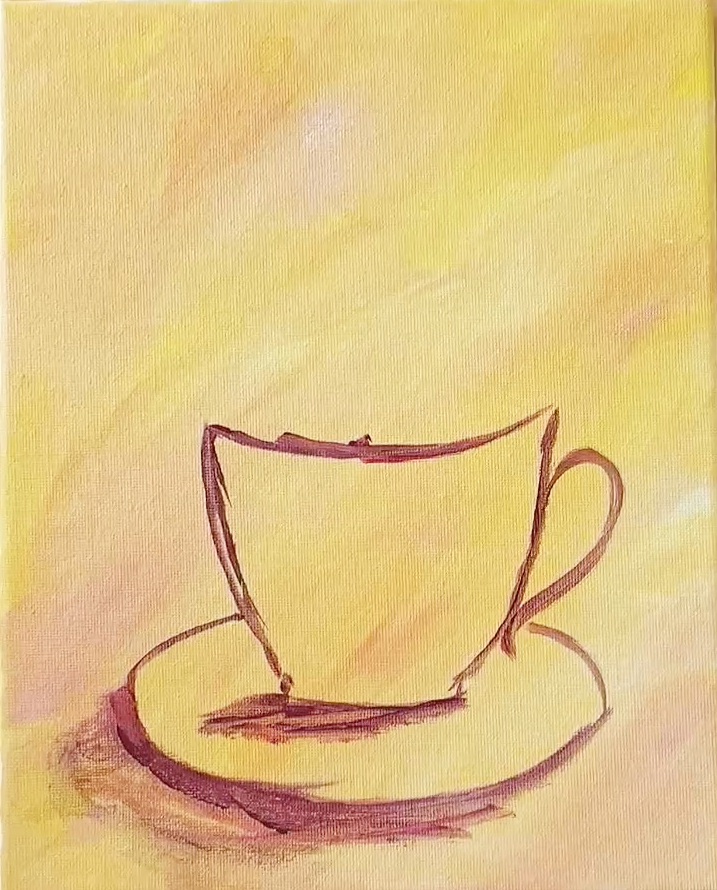
Step 2: Blocking in the Cup (If you are using the traceable, you already have your lines!) Use your 1/2″ Flat brush and purple (red+ white) to outline shadows and then we will block in all the pinks for the cup and plate use (white + red) more red to the left for shadows and add more white as you move to the right to fill in the shapes.
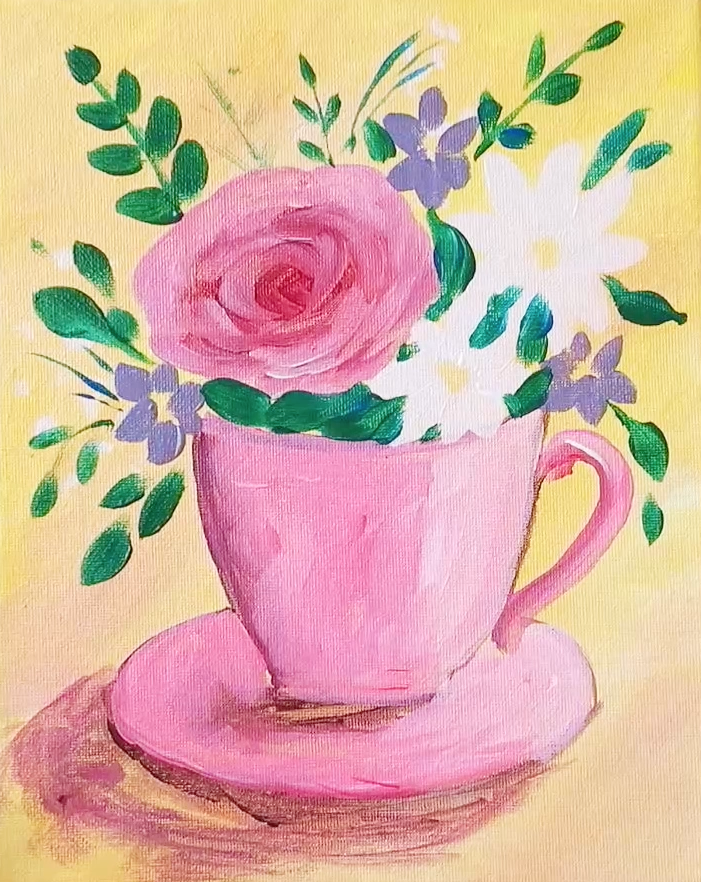
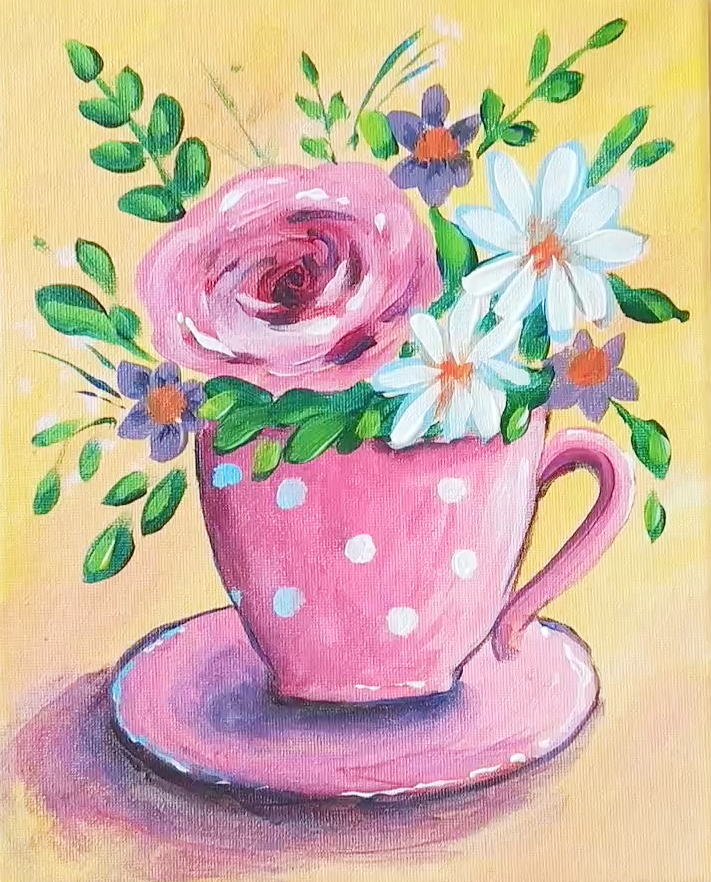
Step 3: The Secret to Pastels 🎀 The secret to the coquette look is soft color. Mix White with a small amount of Primary Red to get that “Ballet Slipper Pink.” Paint the handle and the rim with this pink using your Small Round brush. When the white cup is dry, use your white on the right or a custom mint green to add the polka dots!
Step 4: Wild Florals This is the fun part! We want a “burst” effect.
- Use your Small Round brush to mix an orange (Red + Yellow) for central flower dots.
- Use light blue and light purple for some small daisies.
- Mix Greens (Blue + Yellow) for the leaves and stems, using dabbing strokes.
- Visible Brushstrokes: Use the pink/red in a circle spiral motion for rose shape. Visible brushwork is key here!
Step 5: The Details Use Primary Blue (or a mixed dark green) and your Small Round brush to add delicate bluebells or smaller “dots” of wildflowers along the top of the bouquet. This contrast makes the pink cup pop!
Paint the handle and the rim with this pink using your Small Round brush. When the white cup is dry, use your white on the right or a custom mint green to add the polka dots!
Layering is KEY! You can go in and layer more white and more dark purple to intensify your shadows and highlights. Use your medium shades to soften anything that get too over powering. PLAY and create balance.
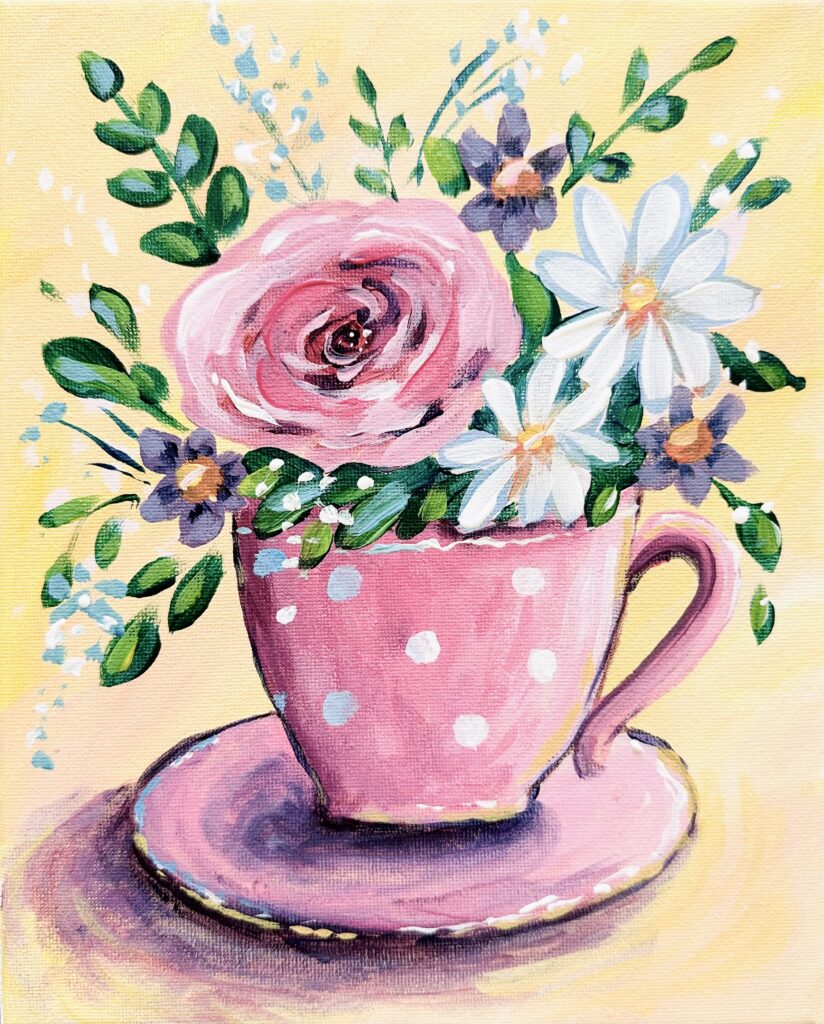
You Did It! 🥳
You’ve just created a unique, personalized gift. Mom is going to love it.
Watch the full 30-minute tutorial video here:


+ show Comments
- Hide Comments
add a comment