

Want to host a paint party but don’t want to deal with the logistics of a crowded bar or studio? Hosting at home or in your own office space is the best way to connect with others, save money, and get messy in the comfort of your own space.
Here is your step-by-step blueprint for a successful, low-stress DIY paint night. I will also make material recommendations for bulk supplies in a one-time use setting. Keep in mind that my normal recommendations will cost more per person and are based on quality and longevity! These are for buying bulk (for 10-30 painters) and keeping costs lower if you only plan to use brushes a few times. You can view my amazon shop here I am an Amazon Affiliate and I earn small commission on your purchase from the links I share at no added cost to you!
🎨 Step 1: The Supply List
You don’t need a professional studio to get amazing results. Stick to these basics to keep costs down and workability high:
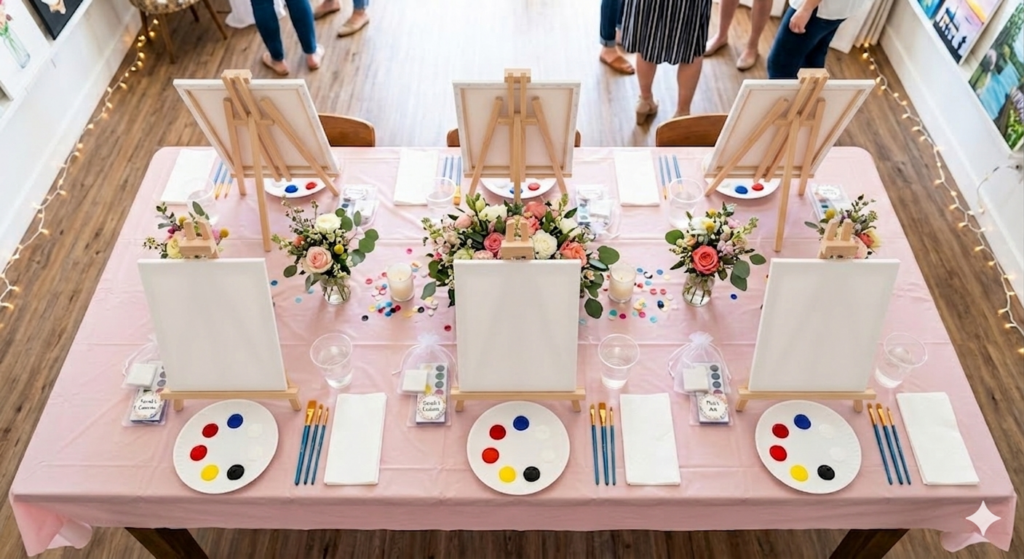
- The Canvas: 8×10, 11×14, 12×16 or 16×20 are the common sizes—not too big to finish in one night, not too small to be over to soon. Keep in mind the bigger the size the longer it will take and the more paint you will use.Check out something like this 12×16 Wrapped Canvas
- The Paint: Stick to Student Acrylics. They dry fast and wash off skin easily. (Pro-tip: Buy primary colors—Red, Yellow, Blue, Black—plus a larger bottle of White. You can mix anything from these!) Make sure they are close to TRUE PRIMARY COLORS. Check out this 8oz Primary Paint Set. You should plan to have about 1oz of each color per person plus extra white! Keep in mind you can mix about 10-20% or water into the colors to make them stretch further.
- The Brushes: Each guest typically needs three: A 1″ Flat (for backgrounds), a Medium Flat (for shapes), and a Small Round Detail brush.
- The Easels: Optional! You can paint flat on the table, but tabletop easels save your guests from a literal neck ache. Wooden Table Easel
- The Secret Weapons: A roll of paper towels, plastic water cups, plastic table covers, and 9″ paper plates to use as palettes. Plastic Apron . Use and toss all these items after your done!
🛠️ Step 2: The Setup (30 Minutes Before)
The key to a “Creative Win” is a space that feels inviting and organized.
- Protect the Zone: Lay down a cheap plastic tablecloth (or old newspaper). Acrylic is permanent on carpet and wood once it dries!
- Station Prep: Set a canvas, three brushes, a water cup, and a few paper towels at each seat.
- Lighting & Music: Make sure the room is bright so guests can see their colors. Put on a low-volume “Flow State” playlist to keep the energy high but the focus sharp.
- The “Palette” Hack: Pre-pour small quarter size blobs of paint onto paper plates so guests don’t have to fight over tubes once the painting starts. You can always add more if anyone needs.
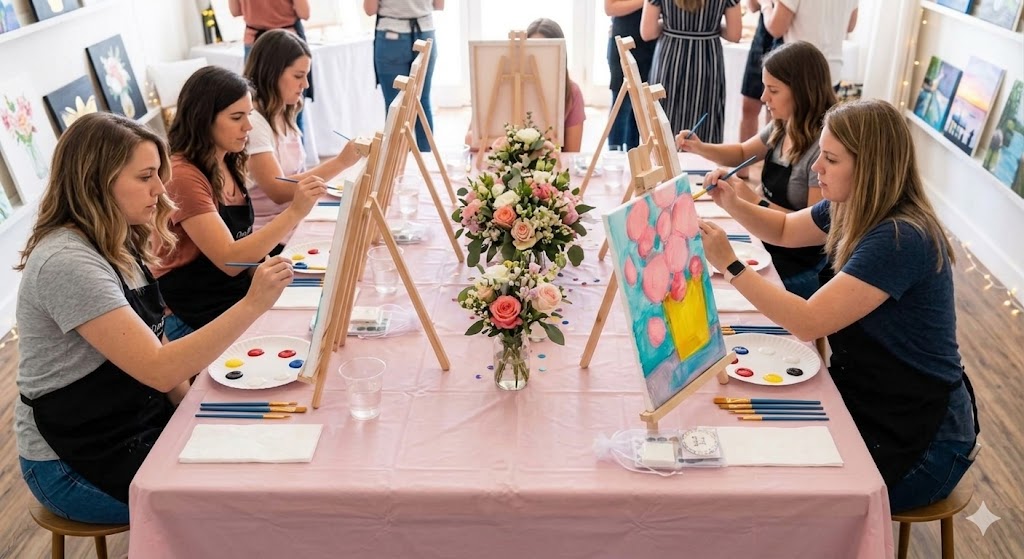
🖌️ Step 3: The Painting Process
Once the snacks are out and the guests are seated, follow this order of operations:
- Pep Talk: Always make sure everyone is ready and paying attention before you start the process so you can start together. If your using a tutorial make sure everyone can see and hear the screen and press play. Or start with the first step for your painting idea.
- Dry Time Breaks: Pause or stop when needed or if painters are getting lost or behind. Allow time between steps to either let layers dry or make sure everyone it caught up to the similar place. This is also the perfect time for a refill on drinks or a snack break. No rush just have fun and make sure you enjoy the process so don’t be shy about taking breaks.
- Layers are King: Remind your guests that the “Ugly Stage” is real. Layering is where the magic happens.
🧼 Step 4: The Easy Clean-Up
Don’t let a “dud” cleanup ruin your creative high.
- Swirl, Don’t Soak: Have everyone swirl their brushes in their water cups immediately when finished. Never let brushes sit in water overnight—it ruins the bristles.
- The “Wet Wipe” Save: Keep a pack of baby wipes handy. They are the ultimate “undo button” for paint drips on the table or floor.
- The Palette Toss: One of the best parts of using paper plates? Just fold them in half and toss them in the trash.
- Brush Rinse: Collect all brushes and give them a quick rinse with mild dish soap and warm water. Shape the bristles with your fingers and lay them flat to dry.
✨ Final Thought
The goal of an at-home paint party isn’t to create a museum-grade masterpiece—it’s to find your flow and enjoy the people you’re with.
Want the “Cheat Code” for your DIY party? If you don’t want to come up with the design yourself, grab one of my tutorials! I walk you through the entire painting so you can just focus on being the “Host with the Most.”
Click here to check out my easy, beginner-friendly tutorials!


+ show Comments
- Hide Comments
add a comment