

There’s something about a ladybug that just feels like a Creative Win. 🐞
In today’s blog post, we are breaking down my 40-minute tutorial featuring three tiny garden guests on a vibrant pink daisy. We are sticking to our favorite Primary Palette on an 8×10 canvas.
The Essentials
- Brushes: 1″ Flat , 1/2″ Flat, Small Round .
- Colors: Red, Yellow, Blue, Black, White.
- Extras: Download the FREE Traceable Sketch here!
The Step-by-Step
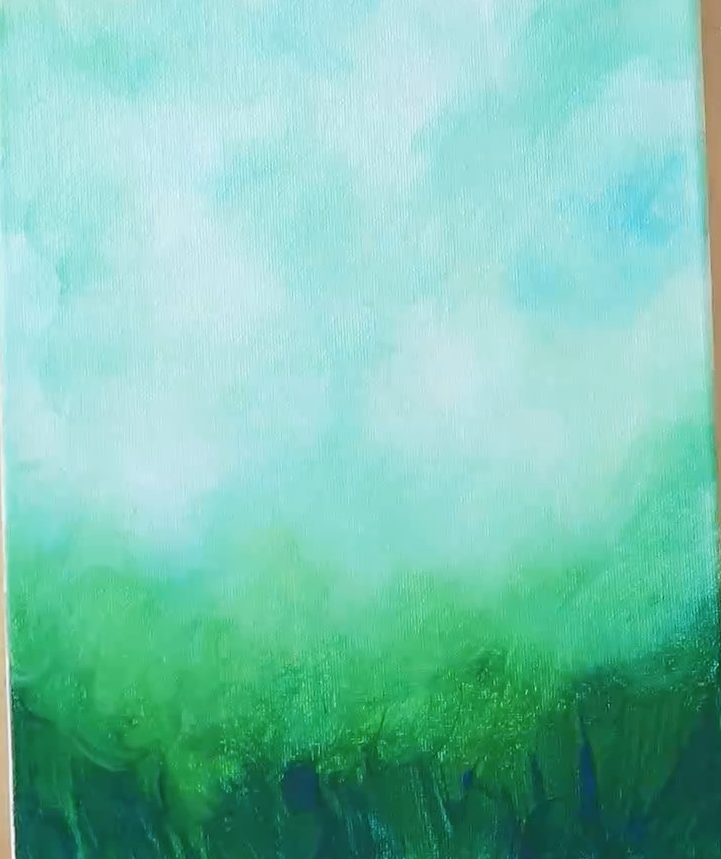
1. The Garden Background: Use the 1″ Flat brush to layer bottom to top with blue, yellow, and then LOTS of white in the top 2/3. Keep it loose!
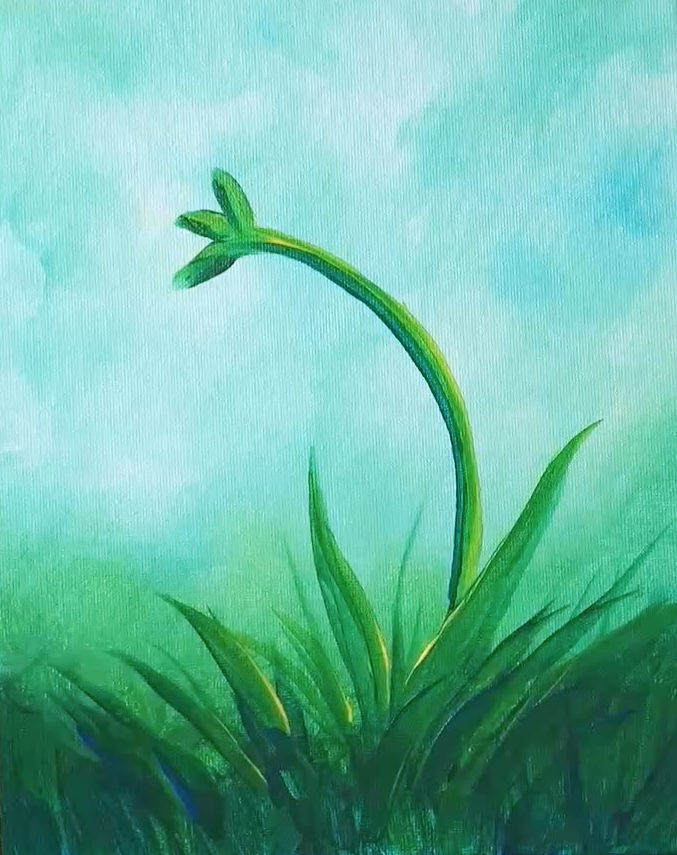
2. The Grass and stem: Use the 1/2″ Flat brush to “pull” up dark green (blue+ little bit of yellow) for the stem and grass.
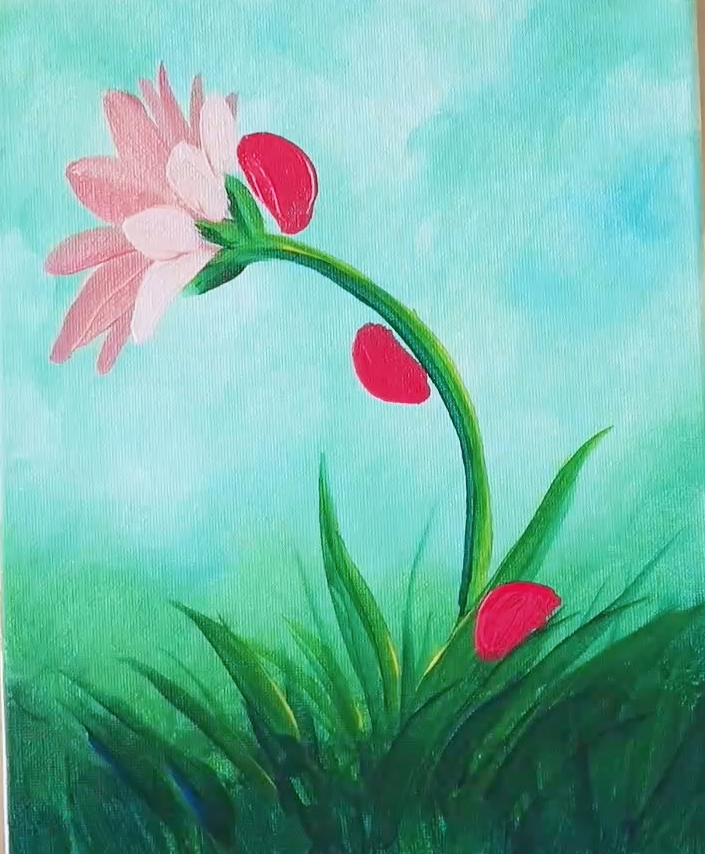
3. The Petals and Bugs: Mix a little red + white (maybe a touch of yellow optional) for a soft pink to layer the petals, then add MORE WHITE to the petal color the layer a second shorter stroke to make a 3D effect. Last USE MORE RED and add the bug shapes like little half circles.
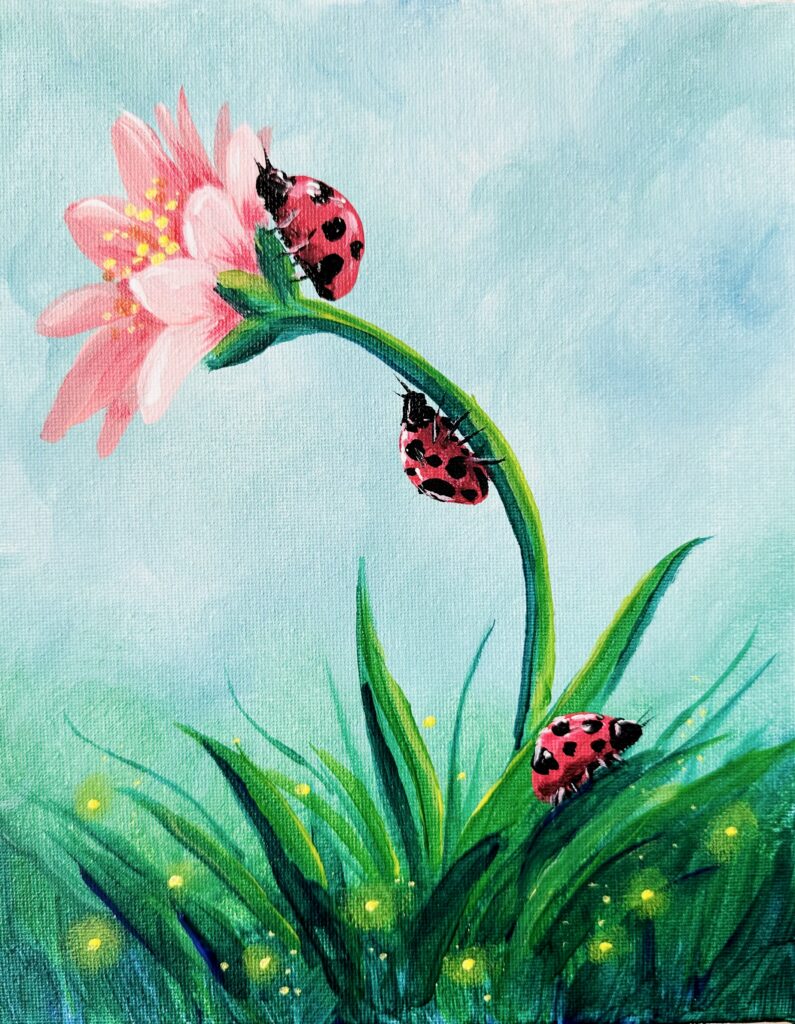
4. The Layering Use your Small Round brush to layer more highlights and shadows, I added some yellow+white dots in the grass for. magical effect.
5. The Details: Once the red is dry, add the black heads and dots. A tiny “dot” of white on the back of the ladybug makes it look shiny and 3D!
Watch the full real-time tutorial here


+ show Comments
- Hide Comments
add a comment