

After at least 6 recipes and attempts at making home-made bath bombs we finally did it! So I had to share just in case it could help someone get it right quicker. This was a fun family craft project that anyone can try. My 5 year old loved making these especially since we used emoji easter eggs to mold some LOL.
I picked this ingredient list because I personally don’t like chunks or dies or overpowering fragrance in my bath, nope not for me, or my daughter Nova, who loves bath bombs. So at around $5 a pop and usually full of junky stuff I had to figure it out!
The Bomb Natural Bath Bombs
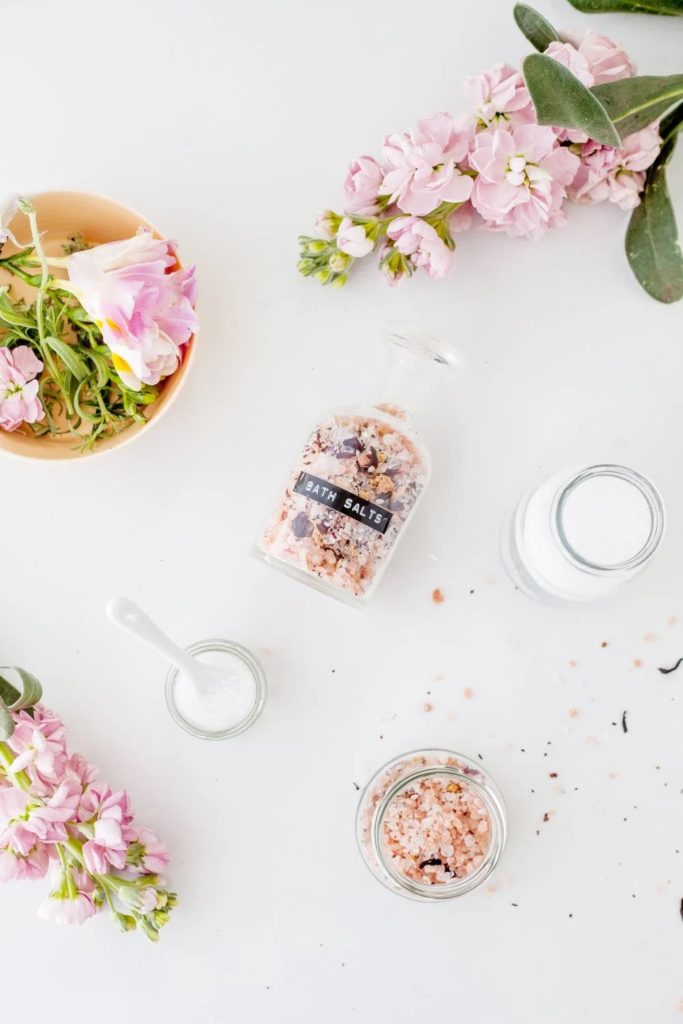
- 2 cups baking soda
- 1 cup citric acid
- 1 cup fine bath salt (I used epsom salt)
- 1 cup corn starch
- 2 T oil (I used olive oil)
- 2 T water
- 1 t essential oil
- molds (we had some metal bath bomb molds and we also used old easter egg shells for mini egg bombs and Nova loved it!)
- 2 bowls (one big one small)
- whisk
First whisk together all the dry stuff in biggish bowl, get it really well mixed and get any lumps out.
Next mix all the wet stuff in another smaller bowl, once mixed very SLOWLY add the wet into the dry. Mix together until the texture is even.
Last pack the mixture into the molds. Pack it SO tight!! really smash it in until it’s very dense and compact.
After they are all molded I let them sit for 2 hrs and then gently removed them from the molds and then let them dry out and harden over night. After that I store them in a large mason jar.
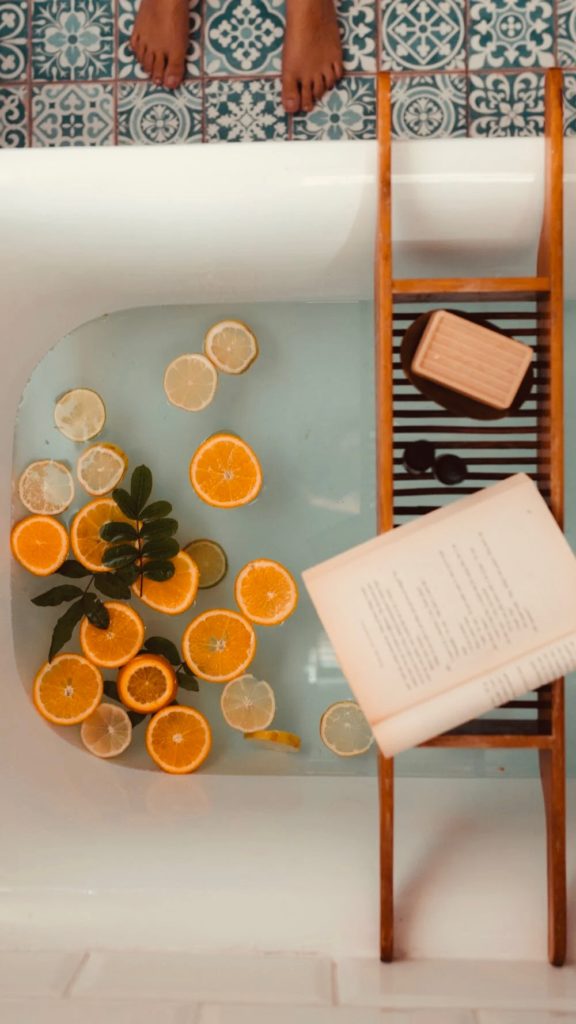
Woohoo they were perfect floaty, fun, and oh so clean. Please enjoy your project and comment with any questions. If you enjoyed this project you might also love candle making, check out my events and courses at https://wendyanderson.art/ and see if you find anything fun! Stay creative friend 🙂


+ show Comments
- Hide Comments
add a comment